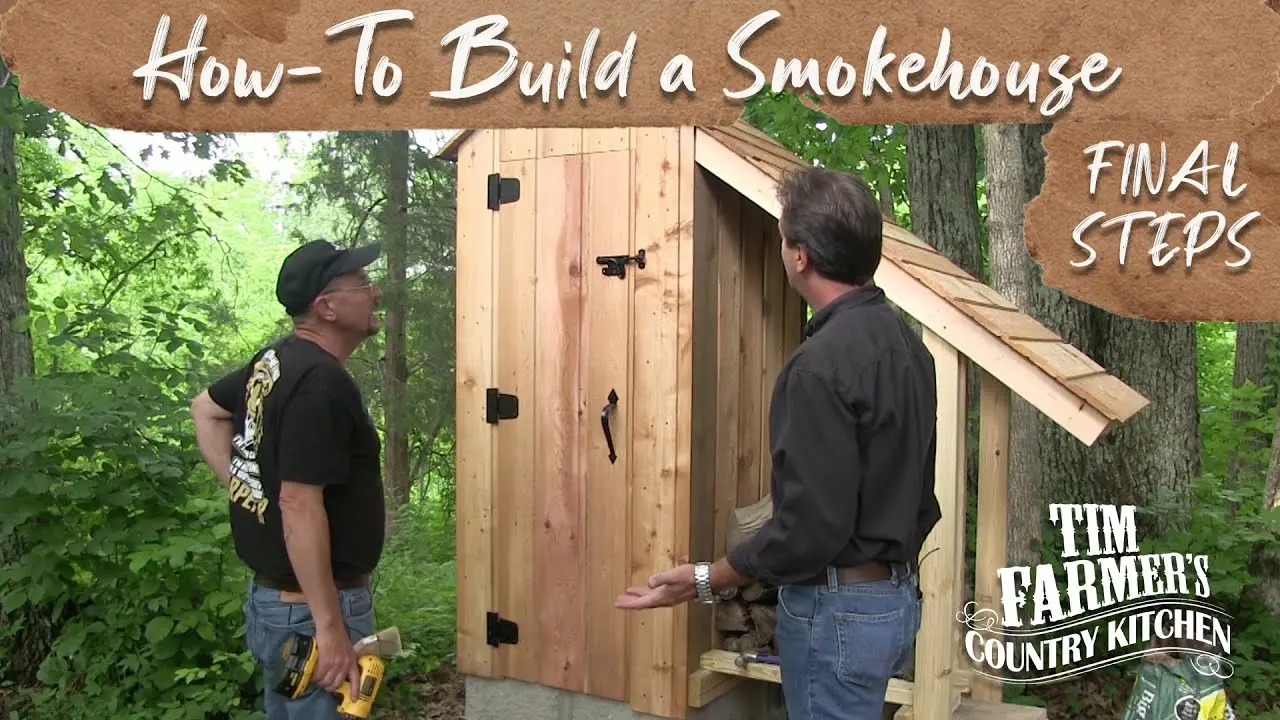
If you're a fan of smoked meats and cheeses, building your own small smokehouse can be a great project to undertake. Not only will it allow you to smoke your own sausages, bacon, ham, cheese, poultry, and venison, but it will also provide you with a lot more room than the smaller smokehouses available in stores. In this guide, we will walk you through the process of building a cement block smokehouse.

Tools and Materials
Before you begin building your smokehouse, make sure you have the necessary tools and materials:
- Chalk line
- Level (2-foot or 4-foot)
- Tape measure
- Square
- Trowel
- Corner plastic line blocks
- Wheelbarrow/mortar board
- Hammer/nail gun
- Circular saw
- Drill
- Speed square
- 200 – 6-by-8-by-16-inch cement blocks
- 1 ton sand
- 1 ton gravel
- 5 bags (94 pounds each) Portland cement
- Hydrated lime
- 8 – 6-foot 2-by-6s
- 5 – 10-foot 2-by-6s
- 10 – 10-foot 1-inch-by-whatever-width (for nailers to hold the metal roofing)
- 4 – 10-foot 1-by-10s
- 6 – 10-foot 1-by-4s
- 2 – 10-foot 1-by-8s
- 2 – 8-foot 1-by-10s
- 2 hinges
- 1 handle
- 6 sheets metal roofing (3-feet-by-55-inches)
- 9-foot metal ridge cap
- Metal screws, Tapcons, and nails
- 8 – 1/2-inch L bolts with washers and nuts
The first step in building your smokehouse is to prepare the ground for the footer. Clear the area of any debris, roots, and rocks. Dig the footer by hand, making sure it is a little longer and wider than the finished area you require. This will give you room to square up the bottom row of cement blocks. Mix your own footer cement by combining 3 shovels of gravel, 2 shovels of sand, and 1 shovel of Portland cement in a wheelbarrow. Add enough water to get the desired consistency and pour the footer in the prepared area. The footer should be approximately 16 inches wide and 6 to 8 inches deep, with the bottom sitting about 24 inches below grade.
Step 2: Square Up the First Layer of Cement Blocks
Once the footer is set up, use a chalk line, tape measure, and square to determine where the bottom layer of blocks should be laid. The bottom layer should have an outside dimension of 80 inches wide by 96 inches long. Measure the length of each wall on top of the footer and mark the four corners. Measure from one corner to the diagonally opposite corner and record the measurement. Repeat this on the other set of opposite corners. These two measurements should be the same. Once the measurements are the same, snap a chalk line on top of the footer to show where the first layer of block should be laid.
Step 3: Layer Cement Blocks
Apply a layer of mortar cement on the footer for the first layer of blocks. Mix the mortar cement by using 2 parts sand, 1 part Portland cement, and 1/2 part hydrated lime. Add enough water to get the mortar to the consistency of mashed potatoes. Run the blocks along the chalk line, applying mortar to the horizontal joints as you lay each block. Make sure the first layer is square and cemented in place. Continue laying blocks a few layers at a time, building up the corners a few layers higher to ensure straightness, levelness, and squareness. Use a level to check each block after it is placed and alternate block placement to avoid directly aligning the vertical joints.
Step 4: Build the Form and Pour the Header
Instead of building a wooden header, opt for a cement header for a better and stronger look. Build a form out of wood to the same height and width as the blocks being used. Add horizontal pieces of rebar to the form and mix the cement using the same ratio as the footer. Pour the cement into the form, making sure to place vertical pieces of rebar that will go down through the top row of cement blocks. Core pour the cement blocks on the top row where the header will sit and place the vertical rebar down through the core poured cells. Use a front-end loader or other equipment to lift and install the header.
Step 5: Build the Roof Structure
After the header is installed and the remainder of the top row of blocks is in place, it's time to build the roof structure. Core pour the four corners about a block deep and push crushed newspaper inside the cores to prevent the cement from going all the way down through the blocks. Install 1/2-inch L bolts to hold down the top plate, which should be rough-cut 2-by-6s cut to the length of the walls. The rafters, cut at a 7/12 pitch, should be nailed to a ridge board supported by two short 2-by-6s. Nail 1-by-whatever-width boards to the rafters for the metal roofing to be screwed to.
Step 6: Finish the Roof
Once the main roof structure is built, add metal roofing with roofing screws. The boards that the roofing is screwed to should have a 1-foot overhang. Install the metal ridge cap and use 1-by-10s to finish off the gable ends. Trim off the facia with 1-by-4s for a nice finished look. Seal off the eaves between the trusses with 2-by-6s to keep the smoke in the smokehouse and critters out.
Step 7: Build and Add the Door
Build the door out of rough-cut 1-by-8s and 1-by-10s to the desired width. Use Tapcons to hold the trim around the cement blocks in place, and install the door hinges. Once the trim is in place, install the door.
Since building the smokehouse, you can now enjoy smoking your own sausages and bacon. You can also experiment with smoking different types of cheeses, poultry, and venison. If you have friends and neighbors who are interested in using your smokehouse, consider hosting a community smokehouse day where everyone can bring their items to be smoked together. Building a small smokehouse can be a rewarding and enjoyable project for any meat and cheese enthusiast.
If you want to know other articles similar to How to build a small smokehouse: a step-by-step guide you can visit the Diy category.


Related Articles