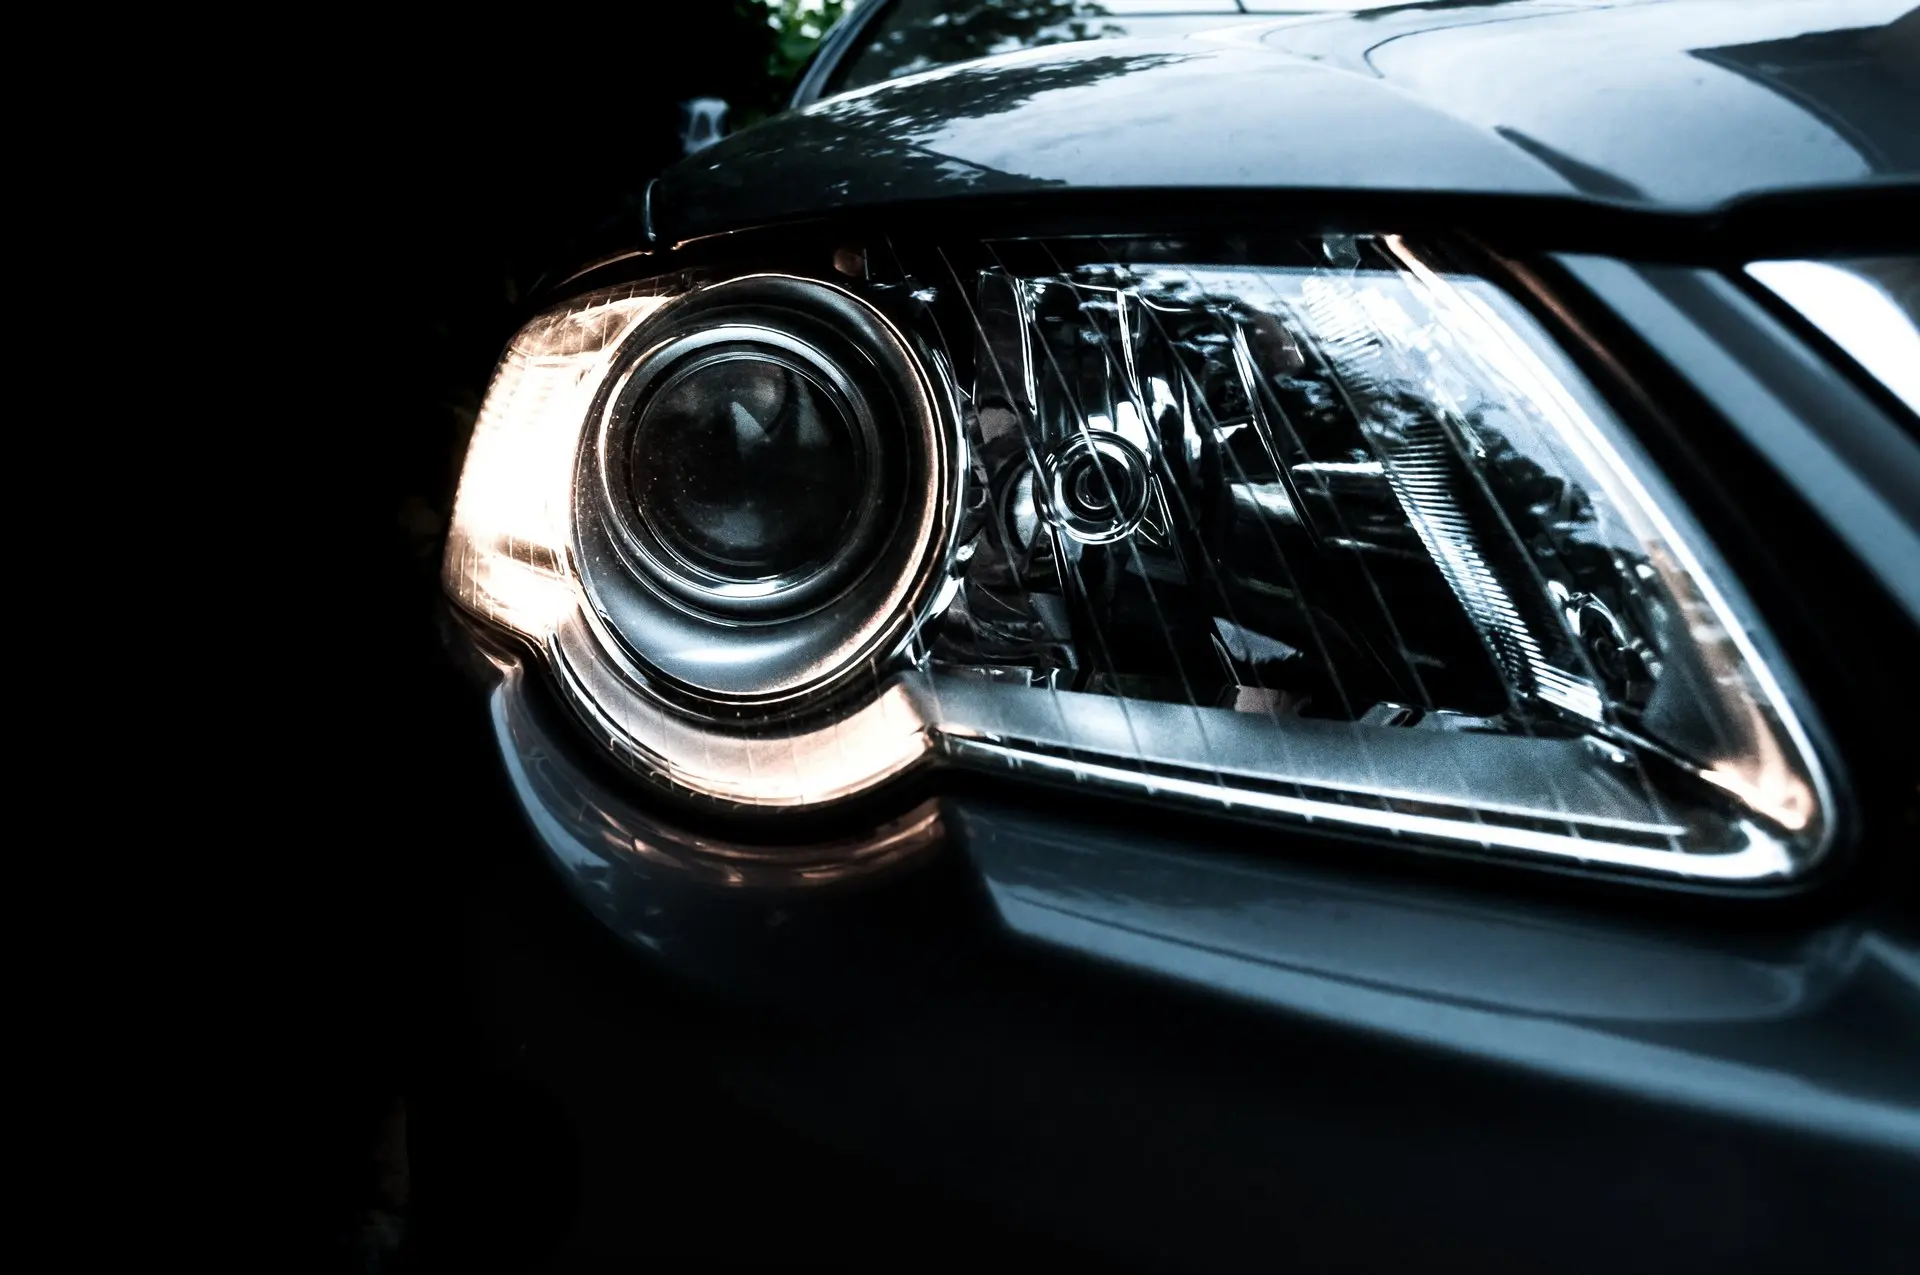
For car enthusiasts, tinting headlights and taillights can be an exciting DIY project. Not only does it enhance the appearance of your vehicle, but it also adds a touch of personalization. If you're wondering how to tint your headlights at home safely and correctly, we've got you covered. In this guide, we'll walk you through the process step by step.

- Materials You Will Need
- Step 1: Clean the Lights
- Step 2: Spray the Lens
- Step 3: Remove the Tint from the Liner
- Step 4: Apply and Align the Tint
- Step 5: Spray the Outside of the Film
- Step 6: Squeegee on the Tint
- Step 7: Heat the Film
- Step 8: Trim Excess Tint
- Step 9: Allow the Film to Dry
- Frequently Asked Questions
- In Conclusion
Materials You Will Need
- A lint-free cloth
- Water and liquid soap
- A squeegee
- A heat gun or blow dryer
- A fine needle
Step 1: Clean the Lights
The first step is to thoroughly clean the headlight or taillight housing, the lens, and the surrounding areas. Use soap and water along with a lint-free cloth to remove any dust, oil, or residues. It's essential to have a clean surface for the tint to adhere properly.
Step 2: Spray the Lens
Mist the lens with a small amount of water. This will allow you to reposition the headlight tint or taillight tint during installation if needed.
Step 3: Remove the Tint from the Liner
Peel the liner off the tint and spray both sides of the film with water. This will make it easier to handle and apply.
Step 4: Apply and Align the Tint
Apply the adhesive side of the film to the lens, starting with the flattest surface and working towards the more curved areas. Take your time to ensure proper alignment and avoid any creases or bubbles.
Step 5: Spray the Outside of the Film
Create a lubrication layer by spraying water on the outside of the film. This will allow the squeegee to glide smoothly during the next step.
Step 6: Squeegee on the Tint
Press down on the tint and use a squeegee to remove any air bubbles and excess water. Use smooth sweeping motions until you see the water exiting from underneath the tint. This step is crucial to ensure a seamless and bubble-free installation.
Step 7: Heat the Film
Using a heat gun or blow dryer, gently heat the film. If possible, turn on the headlights or taillights to help increase the surface temperature. This will make the tint more pliable and easier to adhere to the curved surfaces of the lights.
Step 8: Trim Excess Tint
If you're using a pre-cut vinyl tint, the trimming process will be minimal. However, if you're using a roll of tint, carefully trim off any excess material using a sharp knife or scissors. Take your time to achieve clean and precise edges.
Step 9: Allow the Film to Dry
After completing the installation, allow the film to dry for at least 30 minutes. Take this time to inspect the tint for any remaining air or water bubbles. If you find any, gently poke them with a fine needle to release the trapped air or water.
Congratulations! You have successfully installed headlight and taillight tints on your car. Enjoy the new look and feel of your vehicle. However, it's important to note that the difficulty level of installation may vary depending on the specific make and model of your vehicle. If you encounter any challenges or have doubts, don't hesitate to reach out to a professional for assistance.
Frequently Asked Questions
Q: Is tinting headlights legal?
A: The legality of tinted headlights varies by jurisdiction. It's essential to check your local laws and regulations before tinting your headlights. Some areas have restrictions on the darkness and color of tints.
Q: Can I remove the tint later if I change my mind?
A: Yes, headlight and taillight tints can be removed. However, the process may require the use of heat and adhesive removers. Take caution to avoid damaging the lights during the removal process.
Q: Can I tint my headlights without removing them?
A: It is possible to tint headlights without removing them, but it may be more challenging to achieve a seamless and professional-looking result. It's recommended to remove the headlights for easier access and better control during the installation process.
Q: How long will the tint last?
A: The longevity of headlight and taillight tints depends on various factors such as the quality of the film, weather conditions, and maintenance. High-quality tints can last several years with proper care and maintenance.
Q: Can I wash my car with tinted headlights?
A: Yes, you can wash your car with tinted headlights. However, it's important to use a gentle car wash solution and avoid using abrasive materials or harsh chemicals that may damage the tint.
In Conclusion
Tinting your headlights and taillights can be a rewarding DIY project that adds a unique touch to your car's appearance. By following these step-by-step instructions, you can achieve professional-looking results. Remember to always check your local laws and regulations regarding headlight tints to ensure compliance. If you're unsure or need assistance, consider consulting a professional. Enjoy your newly tinted lights and the transformed look of your vehicle!
If you want to know other articles similar to Diy smoked headlights: step-by-step guide you can visit the Diy category.


Related Articles